Guide
How to Grow Bay Laurel in Pots: A Fragrant Addition to Any Space
Nov
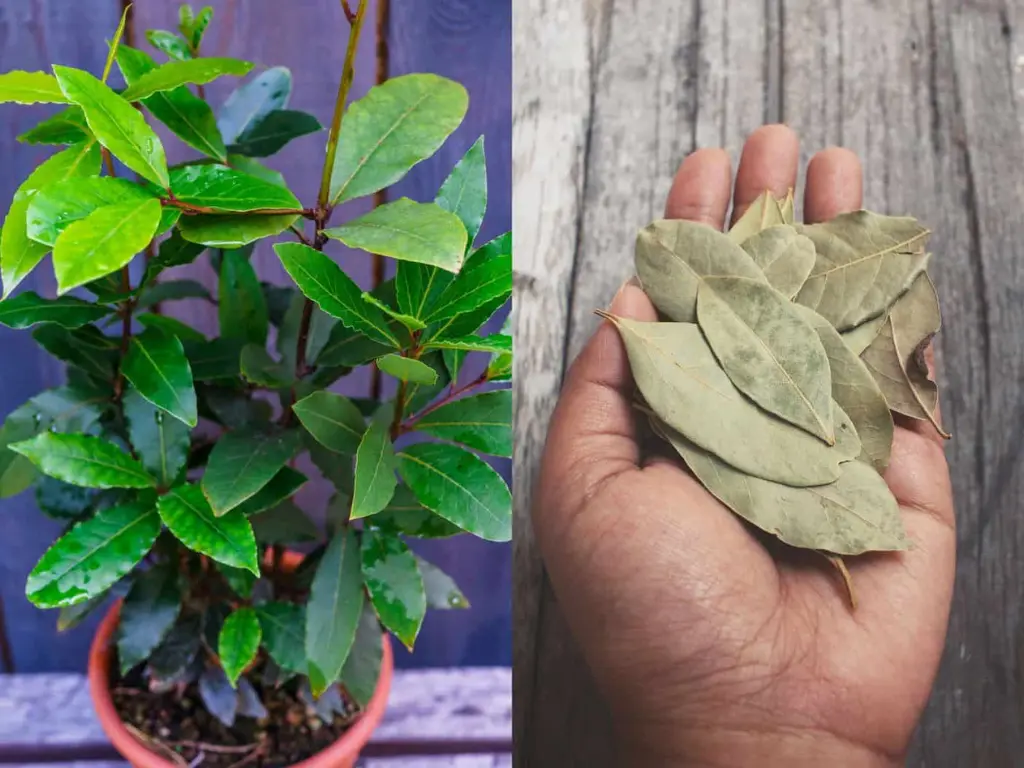
Have you ever wished you could just reach out and grab a fresh bay leaf to add to your dish? That lovely, aromatic flavor that elevates everything from soups to sauces? Now, imagine being able to do that right from your balcony or sunny windowsill, no garden required! Growing bay laurel in pots is an easy, rewarding way to enjoy fresh bay leaves all year round, even if you live in a small apartment or have limited outdoor space.
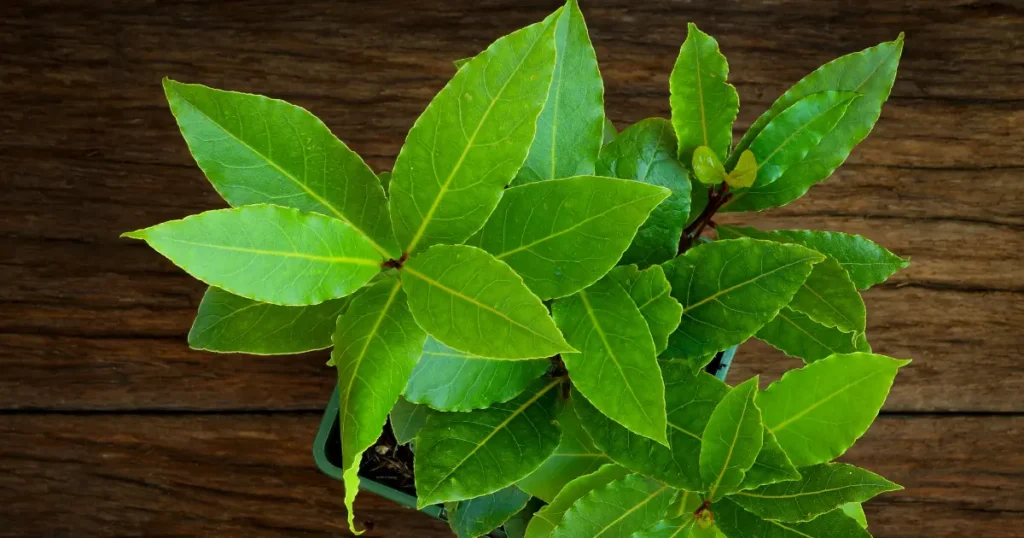
Bay laurel, or Laurus nobilis, is an evergreen herb that’s been prized for its fragrant leaves used in cooking for centuries. It’s also a beautiful ornamental plant that will add a touch of greenery and elegance to any space. Plus, once it’s established, it’s relatively low maintenance, making it perfect for beginner gardeners or anyone who loves a hassle-free plant.
Whether you’re new to gardening or an experienced plant lover, growing bay laurel in pots is an enjoyable project that will reward you with flavorful, homegrown leaves. In this guide, we’ll cover everything from choosing the right container to harvesting your leaves, so you can start growing your own bay laurel today!
Why Grow Bay Laurel in Pots?
Bay laurel is more than just a useful herb for cooking; it’s also a charming addition to your home or garden. Here are a few reasons why growing bay laurel in pots is a fantastic idea:
-
Space-Friendly: You don’t need a backyard to enjoy bay laurel! It thrives in containers, making it ideal for apartments, balconies, patios, or small gardens. If you have a sunny windowsill, that works too!
-
Fragrant Freshness: There’s nothing like the satisfaction of plucking a fresh bay leaf right from your plant to use in your cooking. The flavor is so much more vibrant and aromatic than store-bought dried leaves.
-
Beautiful Evergreen: Bay laurel trees are attractive and maintain their glossy green leaves year-round. It’s like having a mini tree that not only looks beautiful but also adds a bit of Mediterranean charm to your space.
-
Low Maintenance: Bay laurel is a “set it and forget it” type of plant. Once you’ve got it settled, it’s relatively easy to care for. It’s perfect for gardeners who don’t have a lot of time to tend to their plants.
-
A Natural Pest Repellent: Bay laurel naturally repels certain pests with its strong fragrance, so it can even act as a natural deterrent for bugs in your home or garden!
Step 1: Choosing the Right Bay Laurel Variety
Bay laurel comes in a few varieties, and selecting the right one for your space is important for successful growth.
-
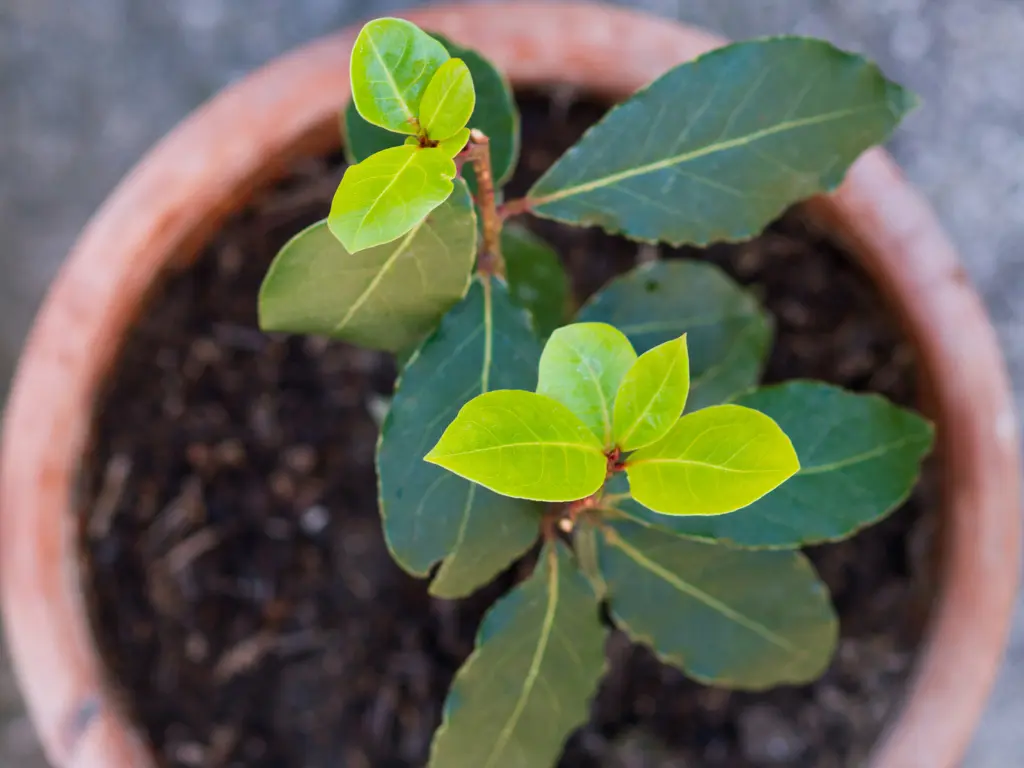
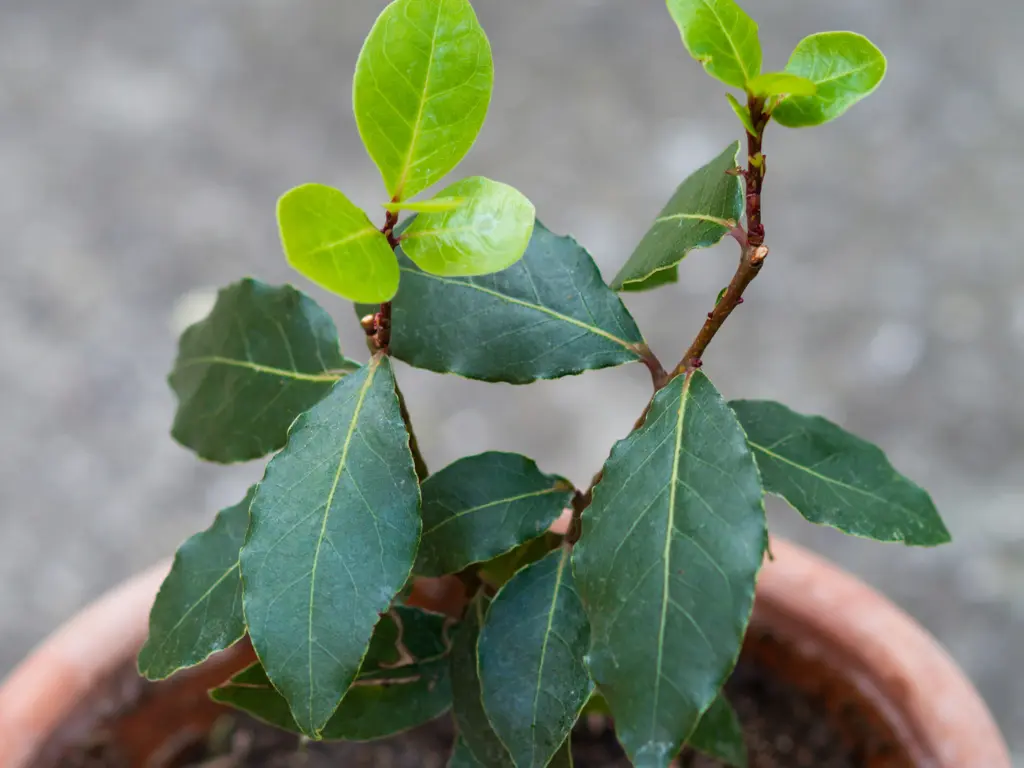
Laurus nobilis (Sweet Bay Laurel): This is the most common and widely available variety. It has the classic glossy, dark green leaves that are perfect for culinary use. This variety is ideal for growing in pots.
-
Dwarf Bay Laurel: If you’re limited on space, the dwarf variety is a great option. It stays more compact and grows more slowly, making it ideal for small spaces or container gardening. It’s also easier to manage and can be kept at a more manageable height.
Whichever variety you choose, make sure you select a healthy plant. Look for a bay laurel that has rich green leaves and no signs of disease or pests.
Step 2: Picking the Perfect Container
Bay laurel trees don’t have massive root systems, but they do need enough space to grow comfortably. For healthy growth, choose a container that’s at least 18 inches deep and 18 to 24 inches wide.
-
Material: Terracotta or clay pots are great options as they allow the roots to breathe, preventing root rot. However, these materials can dry out quickly, so you’ll need to check the soil more often and water when needed.
-
Plastic or Resin Pots: These are lighter, retain moisture better, and are easier to move around. Just make sure the container has adequate drainage holes to prevent the soil from staying too soggy, as bay laurel doesn’t like waterlogged roots.
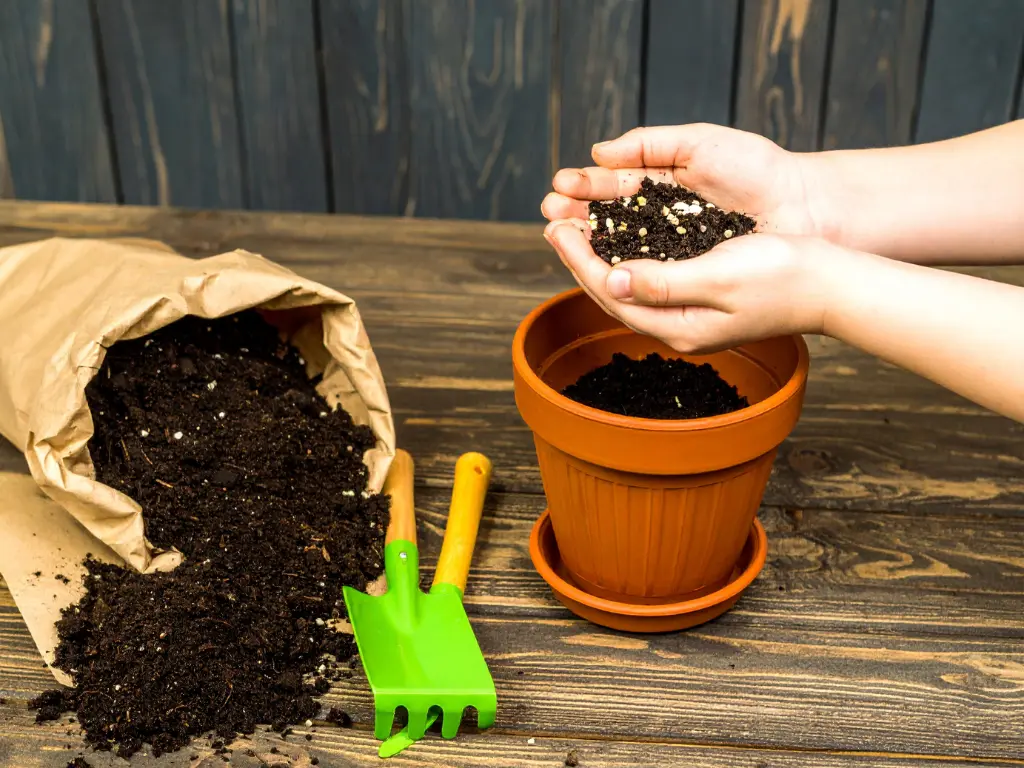
Step 3: Creating the Ideal Potting Mix
Bay laurel prefers soil that’s well-draining and slightly acidic. A mix that promotes good root health and drainage is key to growing a healthy tree. Here’s an easy-to-make potting mix:
-
2 parts high-quality potting soil
-
1 part compost or well-rotted manure
-
1 part perlite or coarse sand (for better drainage)
This combination creates a loose, well-draining mix that keeps the roots healthy and prevents water from sitting in the bottom of the pot. Avoid using heavy garden soil, as it can become compacted and hinder proper drainage.
Read more: 3 Essential Steps for Soil Preparation
Step 4: Planting Bay Laurel Tree
Now comes the fun part, planting your bay laurel! Here’s how to do it:
-
Prepare your plant: If you bought a potted bay laurel, gently remove it from its container. If the roots are circling the bottom, gently tease them out to help the plant settle into the new pot.
-
Planting: Place your bay laurel tree in the center of the pot and fill the edges with your prepared potting mix. Make sure the root ball is level with the top of the soil.
-
Watering: After planting, water your bay laurel well to help the soil settle and remove any air pockets.
-
Mulching: Add a thin layer of mulch on top of the soil. This helps retain moisture and keeps the roots cool, especially during hot months.
You may like: How to Grow Bay Leaf Plants (Laurus nobilis)
Step 5: Finding the Best Spot for Sunlight
Bay laurel is a sun-loving plant, so it’s important to place it in a spot that gets plenty of light.
-
Indoors: A south-facing window is the best choice for your plants. If this isn’t possible, supplement the sunlight with a grow light to keep it happy.
-
Outdoors: Bay laurel loves full sun, so place it in a spot that receives 6-8 hours of sunlight each day. A sunny patio, balcony, or deck will work wonderfully. Rotate the pot occasionally to ensure the plant grows evenly.
Step 6: Watering Wisely
Bay laurel doesn’t like to sit in wet soil, so it’s important to strike the right balance with watering.
-
Watering Frequency: Check the soil regularly and water when the top inch feels dry. Avoid letting it dry out completely, but don’t keep it too wet.
-
During the Hot Months: Bay laurel may need more frequent watering during hot, dry weather, so keep an eye on it and water deeply to ensure the moisture reaches the roots.
-
Winter: Reduce watering when the plant is dormant or growing slowly. Less frequent watering is needed during the cooler months.
Step 7: Feeding for Strong Growth
Bay laurel doesn’t need a lot of fertilizer, but it can benefit from a little extra nutrition, especially during the growing season.
-
Fertilize Monthly: Use a balanced fertilizer (10-10-10) every 4-6 weeks during spring and summer.
-
Organic Options: Compost tea or fish emulsion is a great organic option for feeding your bay laurel.
-
Avoid Over-Fertilizing: Too much fertilizer, especially high-nitrogen types, can lead to lush green leaves but fewer bay leaves, so stick to a balanced formula.
Step 8: Managing Pests and Diseases
Bay laurel is relatively pest-resistant, but like any plant, it can occasionally encounter some issues. Here are a few common pests and diseases:
-
Aphids: These little pests can cluster on new shoots. Gently wash them off with a strong stream of water or treat them with neem oil.
-
Root Rot: This is typically caused by overwatering. Make sure your pot has proper drainage and avoid letting the plant sit in soggy soil.
-
Fungal Diseases: Fungal issues can arise from too much moisture on the leaves, so avoid overhead watering.
Step 9: Pruning and Harvesting Bay Leaves
Pruning is essential for keeping your bay laurel healthy and in shape.
-
Prune Regularly: Remove any dead, damaged, or overcrowded branches in the spring to encourage fresh growth.
-
Harvesting: Bay leaves can be harvested once they’re mature, usually after the plant has had a full season to grow. Snip leaves off as needed, and use them fresh or dry them for later use. The flavor is best when the leaves are young and tender, so try to harvest regularly.
Bonus Tips for Cold Climates
If you live in a region where winters are cold, don’t worry, bay laurel can still thrive with a little extra care:
-
Bring It Indoors: If you live in an area where temperatures dip below freezing, bring your bay laurel indoors before the frost hits. Place it in a cool, sunny spot.
-
Mulch for Protection: If you must leave it outside, add a thick layer of mulch around the base of the plant to protect the roots from freezing.
Frequently Asked Questions (FAQs)
Can I grow bay laurel indoors?
Yes! The Bay Leaf plant does great indoors as long as it gets enough sunlight. A south-facing window works best, but you can also use a grow light to supplement.
How fast does bay laurel grow?
Bay laurel is a slow grower, so don’t expect rapid growth. However, with patience, it will gradually grow into a lovely tree that you can enjoy for years.
Can I harvest bay leaves all year?
Yes, bay leaves can be harvested year-round. However, the best flavor comes from the younger leaves, so try to harvest them regularly for the freshest taste.
Final Thoughts
Growing bay laurel in pots is a satisfying and practical project that’s perfect for any gardener, whether you’re just starting out or you’ve been gardening for years. Not only will you have fresh, aromatic bay leaves at your fingertips, but you’ll also be adding a beautiful and fragrant evergreen to your space.
So, grab a pot, choose your bay laurel, and start planting. With a little care, attention, and patience, you’ll be enjoying the rewards of your own homegrown bay leaves all year long.
Happy growing, and even happier cooking!
Read more: